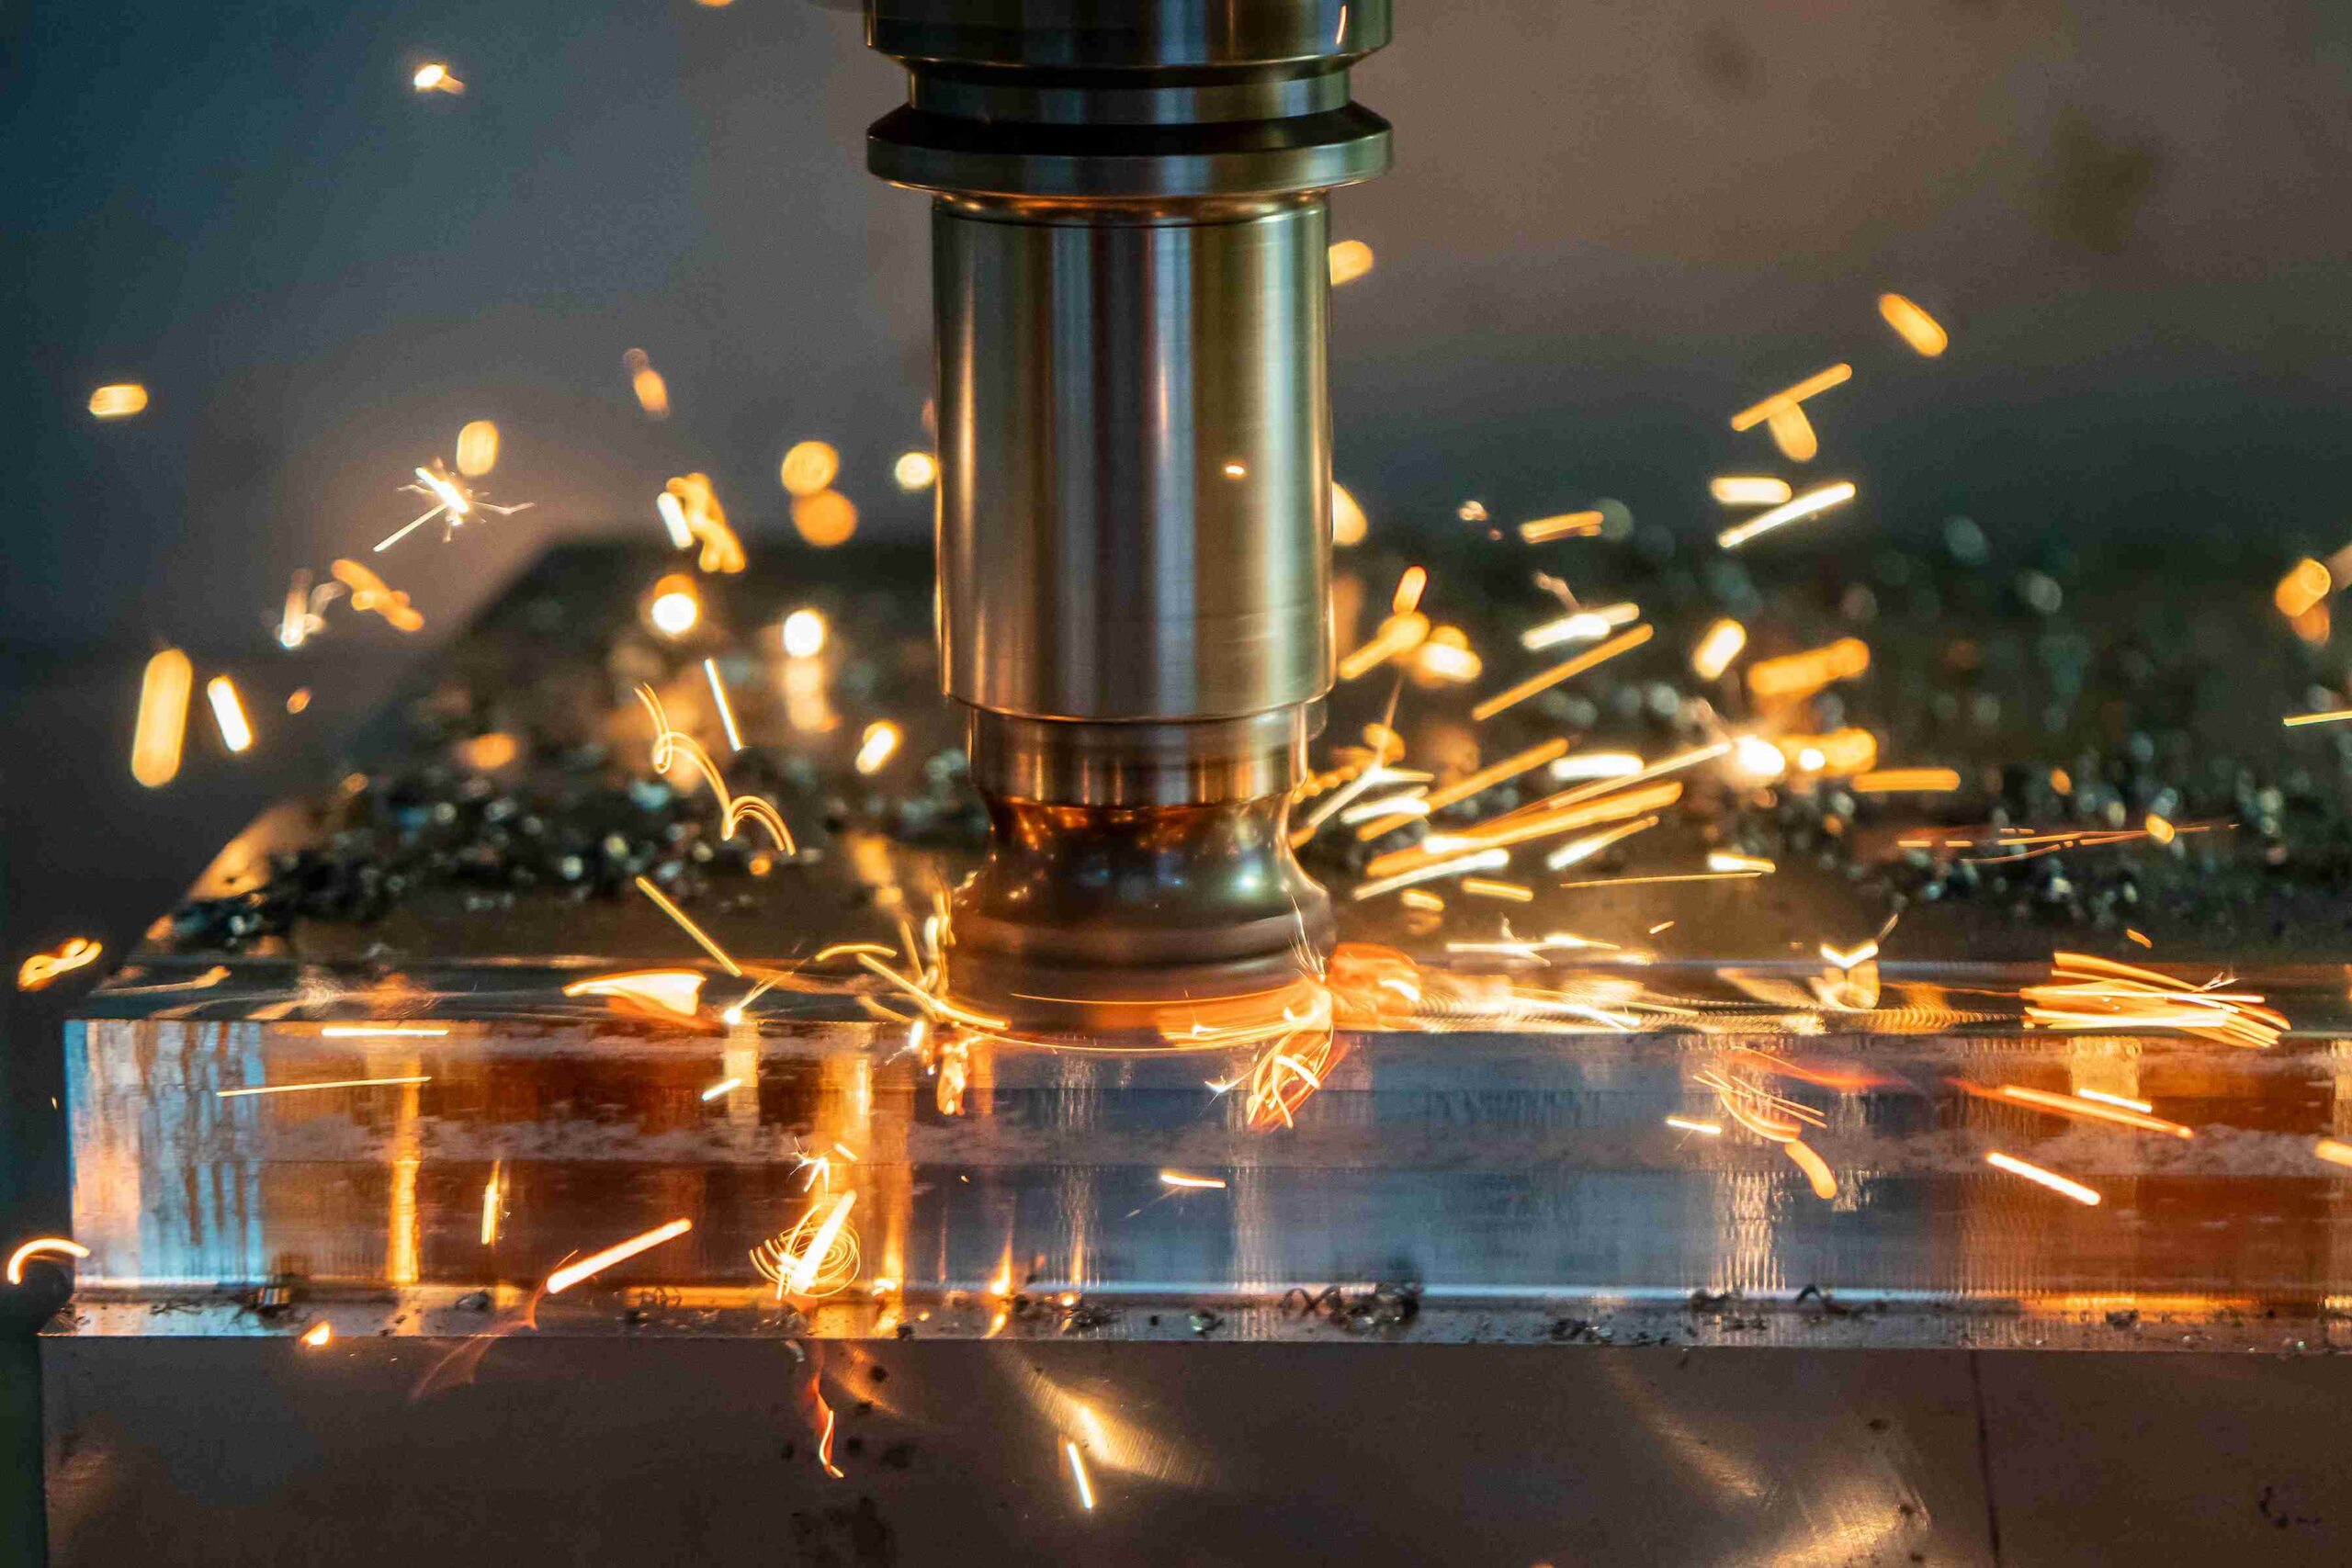
CNC Rough Machining
All you need to know about CNC rough machining and CNC finish machining.8 tips to know about CNC roughing and finish machining.
Abstract
Machining or metal cutting is one of the secondary manufacturing processes that involves gradually removing excess material from a preformed workpiece to achieve the desired shape, size, and surface finish. Various operations are performed to meet the basic requirements of machining. Such processes can be broadly categorized into conventional machining, abrasive machining, micro-precision machining, and non-traditional machining. CNC machining is generally divided into roughing, semi-roughing, finish machining, and super-finish machining. Among these, rough machining and finish machining are commonly encountered processes. The following sections will provide a detailed description of the differences between rough machining and finish machining in CNC machining.
Keaword: rough machining; finish machining
Definition:What is roughing and finishing machining?
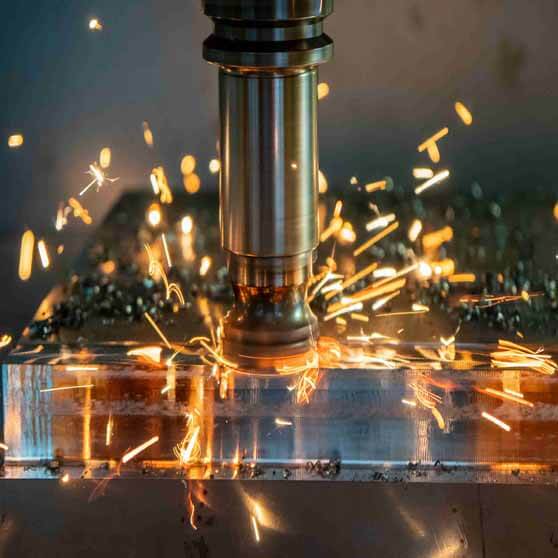
Roughing Machining
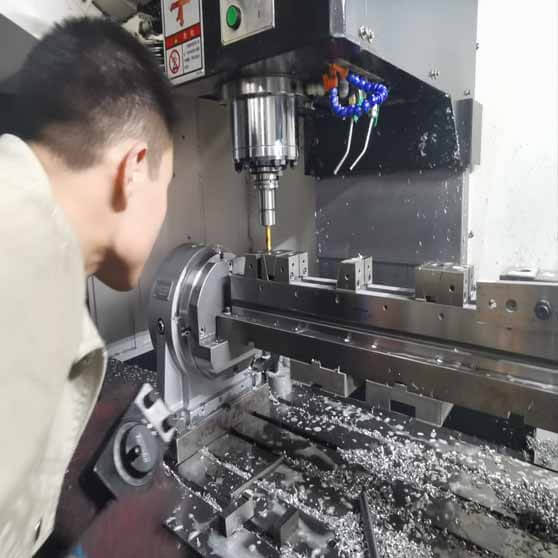
Finish Machining
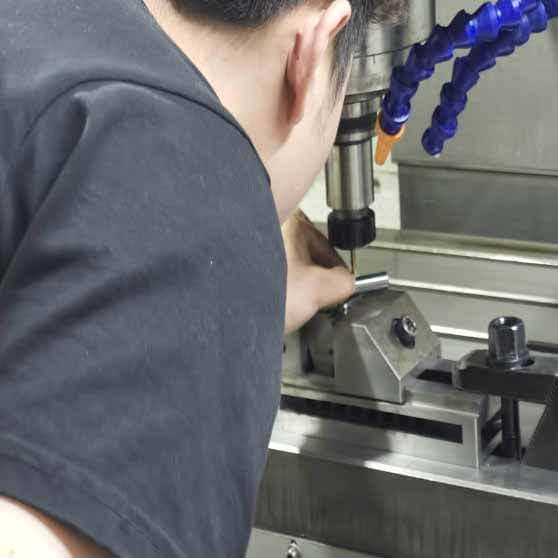
Why is rough machining often separated from finish machining in CNC machining?
What is the advantage?
1. Separating rough and finish machining helps reduce the influence of thermal deformation, allowing for recovery and stress relief. During rough machining, internal stresses can change due to clamping and heating, resulting in deformation. Releasing the stress by separating the processes and allowing the workpiece to cool down helps maintain the dimensional and positional tolerances required by the design.
2. At the beginning of machining, the workpiece is usually in the form of a rough blank. Using the rough blank as a reference during clamping can cause distortion and affect product quality.
3. Separating rough and finish machining is necessary to protect the precision of the equipment. Performing both rough and finish machining on the same equipment for an extended period can lead to a loss of equipment precision, which in turn affects product quality.
4. Proper arrangement of heat treatment processes: After hot machining, residual stresses in the workpiece are significant. By separating rough and finish machining, it becomes possible to schedule stress relief annealing or other heat treatments to eliminate residual stresses before the subsequent finish machining, thus reducing deformation.
5. Increasing efficiency while maintaining accuracy: Rough machining allows for higher cutting depths and feed rates, optimizing material removal. In contrast, finish machining requires smaller cutting depths and slower feed rates to achieve the desired surface quality and precision.
6. In rough machining, due to the large cutting allowance, there is a higher risk of deformation. If finish machining is performed after other surfaces have been machined, it can compromise precision and potentially damage the already machined surfaces.
7. Efficient utilization of machining equipment: Rough and finish machining have different requirements for machining equipment. By dividing the machining stages, the characteristics of both rough and finish machining equipment can be fully utilized, maximizing production efficiency. Rough machining equipment typically has higher power, efficiency, and rigidity, while finish machining equipment offers high precision and low errors, meeting the requirements of the drawings.
8. At the beginning of production, it is common practice to opt for rough machining in order to promptly detect any material defects in the workpiece, thus avoiding potential issues that may arise during subsequent machining. There are many defects in the rough materials, such as pores, bubbles, or unevenness caused by internal impurities or insufficient machining allowance. can be identified after rough machining, facilitating timely repair or decision-making regarding scrapping Time costs can be reduced during production
9. Scheduling rough machining before precision machining and surface finishing helps protect the surfaces that have undergone precision machining and surface finishing processes, minimizing wear and damage.
10. Dividing the machining stages allows for correcting the machining errors resulting from factors such as large machining allowances and cutting forces gradually. By incorporating semi-finishing and precision machining, the machining quality can be ensured.
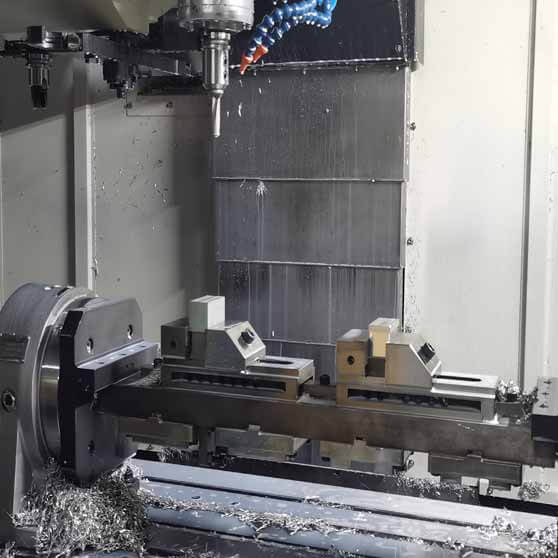
What types of rough and finishing machining processes there are?
Type of roughing
Rough Turning
Rough Planing
Rough Milling
Rough Drilling
Rough Filing
Type of finish Machining
Precision Turning
Precision Planing
Precision Milling
Precision Drilling
What are the advantages of roughing and finishing machining?
Advantages of Rough Machining:
Improved production efficiency: Rough machining focuses on removing excess material and leaving sufficient allowance for precision machining while considering dimensions and tolerances. This allows for the effective utilization of different types of machine tools and enhances cutting efficiency.
Reduced production time: Rapidly reducing the time from “raw material size” to “dimensional requirements as per the drawing.”
Cost savings on tooling: During rough machining, it is possible to use tools that have been retired from precision machining. Since the wear on these tools is typically minor at the cutting edge and can be repaired or refurbished, they can continue to be used for rough machining where surface requirements are not as critical.
Increased machine tool lifespan: Rough machining utilizes high-power, high-rigidity, and low-precision machine tools, while precision machining requires high-precision machine tools. Proper coordination and integration between rough and precision machining contribute to maintaining the accuracy of machine tools over the long term.
Reducing procurement cost of high-precision lathes: Rough machining can be accomplished with general low-precision machine tools, eliminating the need to purchase expensive high-precision machine tools and resulting in cost savings.
Favorable production line layout: Rough machining helps in optimizing the layout of the production line, considering the specific requirements and processes involved.
Advantages of Finish Machining:
Achieving desired specifications: Finish machining is the final stage of the machining process that focuses on achieving the desired dimensions, tolerances, and surface finish of the part. It ensures that the part meets the exact specifications outlined in the design and engineering requirements.
Enhanced surface quality: Finish machining processes, such as fine milling, grinding, or polishing, result in a smooth and refined surface finish. This is important for components that require a high level of aesthetic appeal, improved functionality, or reduced friction.Finish machining can improve machining accuracy and surface quality. The allowance in finish machining is minimal, resulting in reduced machining stress and deformation, which significantly enhances the quality of the parts.
Tighter tolerances and precision: Finish machining allows for the attainment of tight tolerances and high precision. It ensures that the final dimensions of the part are within the specified limits, enabling proper fit, assembly, and functionality.
Improved part performance: Finish machining can enhance the performance of the part by refining critical features, eliminating burrs, and ensuring proper alignment. This leads to improved functionality, reduced wear and tear, and increased durability of the component.
Compatibility with advanced materials: Finish machining techniques are capable of working with advanced materials, including exotic alloys, ceramics, and composite materials. This enables the production of high-performance parts used in industries such as aerospace, defense, and automotive.
Reduced risk of part failure: Finish machining helps eliminate any defects, surface irregularities, or inconsistencies that may compromise the structural integrity or functionality of the part. It reduces the risk of part failure and ensures reliable operation under demanding conditions.
Optimization of surface properties: Finish machining can modify surface properties, such as hardness, roughness, and friction coefficients, to meet specific requirements. It allows for the application of coatings, treatments, or surface modifications that enhance the part’s performance in terms of wear resistance, corrosion resistance, or lubrication.
Quality control and inspection: Finish machining provides an opportunity for thorough quality control and inspection of the final part. This ensures that the part meets the required standards and specifications before it is assembled or delivered to the customer.
High precision: Finish machining focuses on achieving tight dimensional tolerances and precise geometric shapes. It ensures that the final product meets the required specifications and functionality. This high level of accuracy is crucial for industries such as aerospace, medical devices, and automotive manufacturing.
Enhanced repeatability and consistency: Precise machining methods ensure consistent and repeatable results. This is particularly beneficial for mass production, where maintaining consistent quality and specifications across multiple parts is essential.
Reduced post-processing requirements: Finish machining often produces parts with good dimensional accuracy and surface smoothness, minimizing the need for additional finishing operations. This helps streamline the manufacturing process, reduce overall production time, and cost.
Improved efficiency and productivity: With advanced CNC technology and automated processes, finish machining offers higher efficiency and productivity. It allows for faster production cycles, reduced setup time, and the ability to handle complex geometries with high precision.
Design flexibility: Precision machining techniques can accommodate complex and intricate designs, including features such as undercuts, fine details, and intricate patterns. This provides greater freedom for designers and engineers to create innovative and customized products.
Requirements for Rough Machining:
Rough machining does not require high surface quality. It is generally done as a preparatory step for semi-finish machining and finish machining. Since rough machining involves large machining allowances, high machining speeds, and generates significant heat, it places higher demands on machining tools. Typically, high-hardness alloy materials are chosen as tool materials.
What should be paying attention to in rough machining?
Advantages of Rough Machining:
Removing Excess Material: In order to improve processing efficiency, coarse processing methods are often chosen to remove a significant amount of excess material, providing a quick machining shape for subsequent precise processing. Pay attention to selecting appropriate cutting tools, such as high-speed steel or carbide tools, which can withstand the high cutting forces and efficiently remove material.
Cutting parameters: Optimize the cutting parameters, including cutting speed, feed rate, and depth of cut, to achieve a balance between material removal rate and tool life. Higher cutting speeds and feed rates can increase productivity, but they should be within the limits of machine capabilities and tool integrity.
Cooling and lubrication: Implement effective cooling and lubrication methods during rough machining to dissipate heat generated during the process. This helps in prolonging tool life and preventing thermal damage to the workpiece.
Machine rigidity: Ensure that the machining setup, including the workpiece clamping and tool holding, provides sufficient rigidity and stability to withstand the forces generated during rough machining. Rigidity is crucial for maintaining accuracy and preventing vibration or chatter.
Safety measures: Follow proper safety protocols when operating machinery for rough machining. This includes wearing appropriate personal protective equipment (PPE), ensuring machine guards are in place, and adhering to safe operating procedures.
Quality control: Although rough machining is focused on material removal rather than achieving high precision, periodic inspections and measurements should still be conducted to monitor the process and ensure that dimensional tolerances are within acceptable limits.
Consideration for subsequent operations: Keep in mind the requirements for subsequent machining operations, such as finish machining. Leave adequate allowances and avoid damaging critical surfaces or features that will be machined in later stages.
Sufficient and reasonable allowance should be considered during rough machining for subsequent finish machining.
How to choose the surface finishing tools(cutter) in roughing and finishing machining
What is the difference between roughing and finish machining?
Different objectives: Rough machining is aimed at quickly giving the part its basic shape based on the required features, and surface roughness is not a critical factor at this stage. On the contrary, the primary goal of rough machining is to remove unwanted material to the maximum extent possible. The difference between precision machining and rough machining lies in the ability to achieve an exceptionally smooth surface finish, high precision machining accuracy, and stringent tolerance requirements. Therefore, in the process of precision machining, the cutting speed needs to be extremely slow.
Surface smoothness and dimensional accuracy: Due to the feed rate, each traditional machining process leaves scallop marks or feed marks on the finish machining surface. These sawtooth-shaped scallop marks contribute to the main surface roughness. Apart from tool geometry, surface roughness also directly depends on the feed rate. Higher feed rates result in poorer surface smoothness. Higher cutting depths also tend to reduce surface smoothness and machining accuracy. In rough machining, higher feed rates and cutting depths are used, leading to inferior surface smoothness. It also cannot provide high dimensional accuracy and tight tolerances. On the other hand, finish machining, with very low feed rates and cutting depths, can improve finish, accuracy, and tolerances.
Different tool usage: Rough machining tools typically feature wavy cutting edges or large chip-breaking grooves, providing a larger contact surface and a significant volume of cutting material. Finish machining tools, on the other hand, usually have sharp cutting edges and high tool strength. The sharp cutting edges and higher strength reduce tool deflection and improve surface quality in finish machining.
Older tools may not be as sharp (i.e., larger nose radius and edge radius) since they have worn during the machining process. The sharpness of the edges and nose limits the achievable surface smoothness during the process. Sharp edges may not withstand high chip loads, but they are necessary to achieve better smoothness and accuracy.
What types of surface roughness and dimensional accuracy after roughing and finishing machining?
Rough Machining:
Dimensional Accuracy: Typically, rough machining achieves lower dimensional accuracy compared to finish machining. It focuses more on material removal and basic shaping, rather than precise dimensional control.
Surface Roughness: Rough machining results in a higher surface roughness compared to finish machining. The priority is to quickly remove excess material, which may leave visible tool marks or scallop-like surface textures.
Finish Machining:
Dimensional Accuracy: Finish machining achieves higher dimensional accuracy compared to rough machining. It aims to meet specific tolerances and dimensional requirements for the part.
Surface Roughness: Finish machining results in a significantly smoother surface compared to rough machining. The focus is on improving the surface quality, minimizing tool marks, and achieving the desired surface finish.
| Processing Method | Dimensional Accuracy(IT) | Surface Roughness(Ra) | |
|---|---|---|---|
| Cylindrical turning | Rough Turning | IT13~IT11 | 50~12.5 |
| Semi-finish Turning | IT10~IT9 | 6.3~3.2 | |
| FT(finish turning) | FT(finish turning) | IT8~IT6 | |
| Face cutting | Rough Turning | IT13~IT11 | 50~12.5 |
| Semi-finish Turning | IT10~IT9 | 6.3~3.2 | |
| FT(finish turning) | IT8~IT6 | 1.6~0.4 | |
| Diamond turning | FT(finish turning) | IT6~IT5 | 0.4~0.2 |
| Outer-surface milling | Rough Milling | IT13~IT11 | 50~12.5 |
| Semi-Precision Milling | IT10~IT9 | 6.3~3.2 | |
| Precision Milling | IT8~IT7 | 1.6~0.8 | |
| Face milling | Rough milling | IT13~IT11 | 50~12.5 |
| Semi-Precision Milling | IT10~IT9 | 6.3~3.2 | |
| Precision Milling | IT8~IT7 | 1.6~0.8 | |
| High-speed milling | Rough milling | IT9~IT8 | 3.2~1.6 |
| Finish-milling | IT7~IT6 | 0.8~0.4 | |
| Planing | Rough planing | IT13~IT11 50~12.5 | 5.0~12.5 |
| Semi-precision planing | IT10~IT9 | 6.3~3.2 | |
| Precision planing | IT8~IT7 | 1.6~0.8 | |
| Surface Grinding | Rough grinding | IT10~IT8 | 12.5~6.3 |
| Semi-precision grinding | IT9~IT8 | 3.2~1.6 | |
| Precision grinding (with dressing wheel) | IT6~IT5 | 0.8~0.4 | |
| External Cylindrical Grinding Internal Cylindrical Grinding | Rough polishing | IT13~IT11 | 50~12.5 |
| Semi-precision polishing | IT10~IT9 | 6.3~3.2 | |
| Precision polishing (with grinding wheel) | IT8~IT7 | 1.6~0.8 | |
| Drilling | Rough drilling | IT13~IT11(¢5 or less) | 50~12.5 |
| Precision drilling | IT10~IT9(There is a drill mold) | 25~6.3 | |
| Boring | Rough reaming | IT13~IT11 | 50~12.5 |
| Precision reaming | IT10~IT9 | 6.3~3.2 | |
| Reaming | Rough chamfering | IT9~IT8 | 3.2~1.6 |
| Precision chamfering | IT7~IT6 | 0.8~0.4 | |
| Boring (Machining) | Rough boring | IT12~IT11 | 25~12.5 |
| Semi-precision boring | IT10~IT9 | 6.3~3.2 | |
| Precision boring (floating boring) | IT8~IT7 | 1.6~0.8 | |
| Diamond Boring | Precision boring | IT7~IT5 | 0.8~0.2 |
| Slotting | Rough broaching | IT11~IT13 | 12.5~25 |
| Precision broaching | IT10~IT8 | 6.3~1.6 | |
| Broaching | Rough turning | IT8~IT7 | 1.6~0.8 |
| Precision turning | IT7~IT6 | 0.8~0.4 | |
| Scraping | 25mmX25mm | 8~25 Points | 0.8~0.1 |
| Filing | Hand filing | IT13~IT7 | 50~0.8 |
| Gas Cutting | IT13~IT11 | 50~12.5 | |
| Welding | |||
| Gear Hobbing | IT8~IT7 | 1.6~0.8 | |
| Tapping | IT10~IT8 | 6.3~1.6 | |
| Threading | Using a die | IT9~IT8 | 3.2~1.6 |
| Ultrasonic machining | 0.03~0.005 | 0.4~0.2 | |
| Laser machining | 0.01~0.001 | 6.3~0.4 | |
| Electron beam machining | |||
| Ion beam machining | 0~0.01 | 0.05~0.01 | |
| Electrochemical machining | 0.1~0.01 | 0.8~0.2 | |
| Electrical discharge wire cutting (Wire EDM) | 0.02~0.002 | 3.2~0.4 | |
| Electrical discharge or die-sinking machining | 0.03~0.003 | 6.3~0.05 | |
| Polishing | Precision machining | IT6~IT5 | 0.4~0.2 |
| Chemical Grinding | Chemical precision grinding | IT7~IT6 | 0.8~0.4 |
| Electrolytic Grinding | Electro-precision grinding | 0.02~0.001 | 0.8~0.05 |
| Honing | Rough honing | IT7~IT6 | 0.8~0.4 |
| Precision honing | IT6~IT5 | 0.4~0.2 | |
| Grinding | Rough Grinding | IT6~IT5 | 0.4~0.2 |
| Precision Grinding | IT5 | 0.2~0.1 | |
Conclusion.
Free Sample
Explore Other Guide and resource
Swiss Turn Machining
Swiss Turn machining is one of the most common modern machining techniques. Its advantages of speed, convenience, and high precision make it highly favored by customers, leading to its widespread

Considerations for CNC machining production
Explore the intricacies of CNC machining production with a focus on hole machining and boring processes. Delve into considerations, safety measures, and practical tips for effective CNC operations. This guide
CNC Machine Shop
Masion is a CNC machine shop to manufacture different CNC machining parts you could learn CNC machine shop here clearly.

